Four colours, nine moulds, and a candle making experiment that didn’t go to plan.
I had a particular candle in mind for this week, and I was quite excited to make it.
Four layers of colour, starting with purple at the bottom, followed by orange, lemon yellow and white. On top, I wanted little succulents in matching colours. I even planned to add fragrance this time.
I thought this might be my best candle of the month.
I had the colours picked out and the mould ready. I knew what I wanted the finished candle to look like. What I hadn’t thought through was how much I’d have to manage to get there.
About two hours later, I was staring at a candle that looked nothing like the one I had imagined.
And eventually, I melted it down and made something else.
The candle I had planned
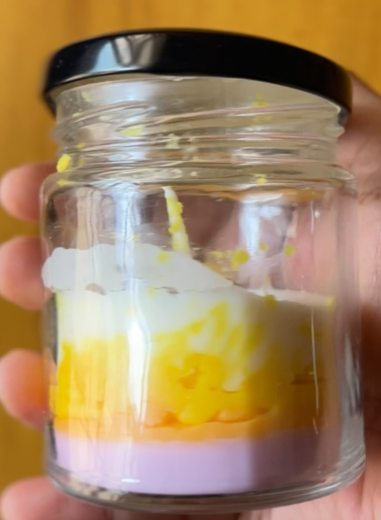
I wanted to try autumn-inspired colours, and purple, orange, yellow and white seemed like a good combination. I also had succulent mould I had been wanting to use, so I planned to make nine little decorations in three colours.
I decided to add fragrance, too. My ombre bubble candle hadn’t been scented, and I wanted to try something different this time.
The plan seemed simple enough. I’d melt the wax, add the fragrance, divide it into four portions, colour each portion and pour the layers one after another. I had to keep some extra wax aside for the succulents.
I didn’t expect the process to take as much attention as it did.
When things stopped going to plan
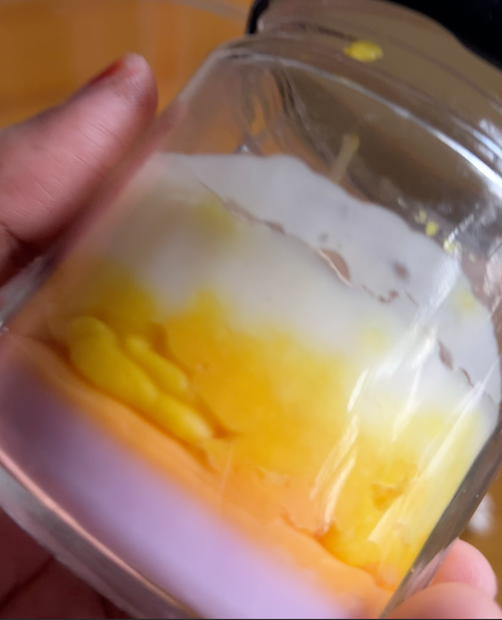
The purple colour wouldn’t come out of its container properly, so I had to make extra holes to get it out. By the time I mixed it into the wax, it had already started cooling. Yellow gave me similar trouble, although orange and white were easier to work with.
The purple layer went into the jar without much difficulty, and for a moment, I thought things were going well.
Then came orange. The wax had cooled, and even after reheating it, I struggled to get it completely melted. It had become thick and didn’t spread evenly when I poured it.
Yellow and white were no easier. The wax kept thickening, the colours weren’t mixing as I’d hoped, and some of it stuck to the sides of the jar.
By then, I was frustrated. I’d spent so much time on the candle that I just wanted to finish it, even though I knew it wasn’t turning out the the way I had imagined.
When I finally stepped back, the four distinct layers I had planned were barely visible. It was disappointing, especially because I had been so excited about this design.
What I’d change next time
Looking back, I was trying to manage too many things at once: four colours, nine moulds and a jar candle, all while keeping the wax warm enough to pour.
I was also guessing the temperature. My wax instructions specify adding fragrance at 70-80°C and pouring at around 60°C, but I didn’t have a thermometer at that time.
Next time, I’d prepare the colours and moulds beforehand, estimate how much wax I’d need, and use a thermometer rather than guess. I’d also simplify the decorations so I could focus on getting the layers right.
I still want to make this candle. I just need a better plan.
A second life for the wax
After leaving the candle for a while, I decided to melt it down and try something different.
The colours combined into a brownish shade with hints of orange. I added a little more brown, then poured a layer of freshly melted white wax over it, hoping to create a coffee-with-milk effect.
It didn’t turn out quite as I’d imagined. The layers were more noticeable than the swirled effect I wanted, but I liked the result enough to keep it. I added coffee fragrance and left off the succulent decorations.
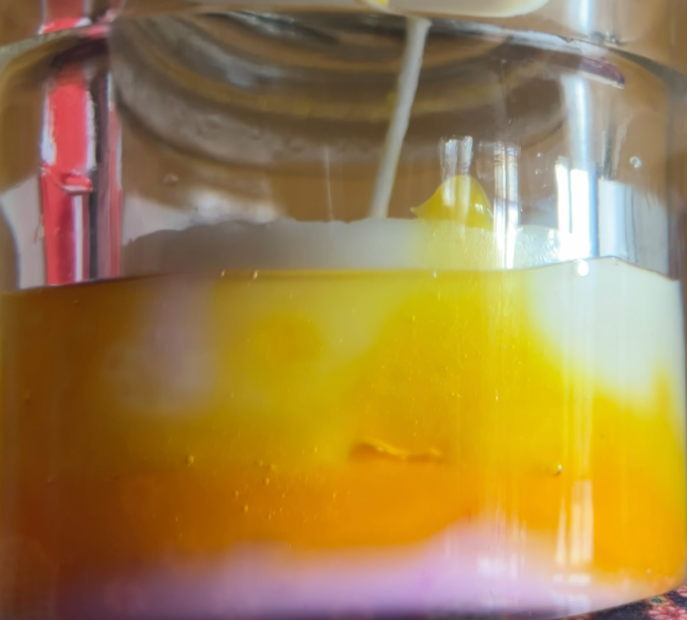
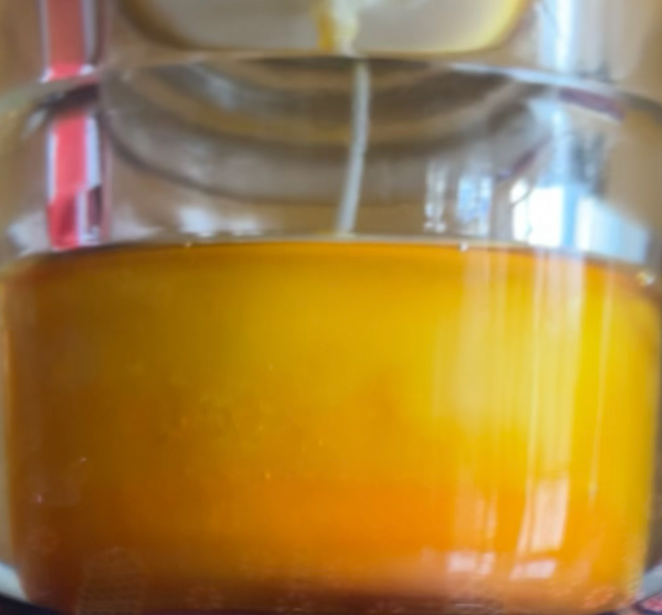
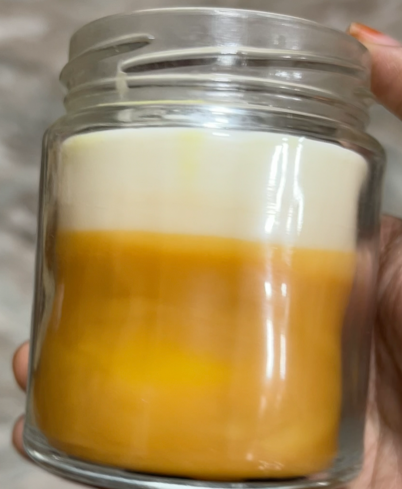
It wasn’t the candle I had planned to make, but I was much happier with it than the original. I’m glad I gave the wax another chance instead of throwing it away.
Buying supplies for a hobby
This experiment made me rethink the supplies I had been buying. I’d spent money on different colours, fragrances and decorative moulds, but perhaps a thermometer should have come first.
I don’t think every beginner needs to buy every tool before trying a hobby. But when I notice the same problem getting in the way, it’s worth asking whether a particular tool could help.
Rather than buying more supplies just because they look interesting, I would like to focus on what I actually need for the things I want to make.
I’m still figuring out what works for me, but I know what I’d prioritize before attempting this candle again.
Would I try it again?
Absolutely. I still want to make the original four-coloured candle, this time with everything prepared beforehand and a better way to manage the wax temperature.
For now, I’m keeping the brown and white candle. It wasn’t what I set out to make, but it turned out to be a nice reminder that a project doesn’t always have to go to plant to be worth finishing.
Sometimes, you just need to try a different approach.
Want to try making your first candle?
If you’re curious about candle making but aren’t sure what to buy or where to start, The First Candle Kit is a free beginner’s guide to help you plan your first candle.
It includes a supply checklist, a simple guide to the process, things to check before you begin, and space to work out your budget.
You don’t need to buy everything at once. Start with one candle and see where it takes you.
